

warmly,
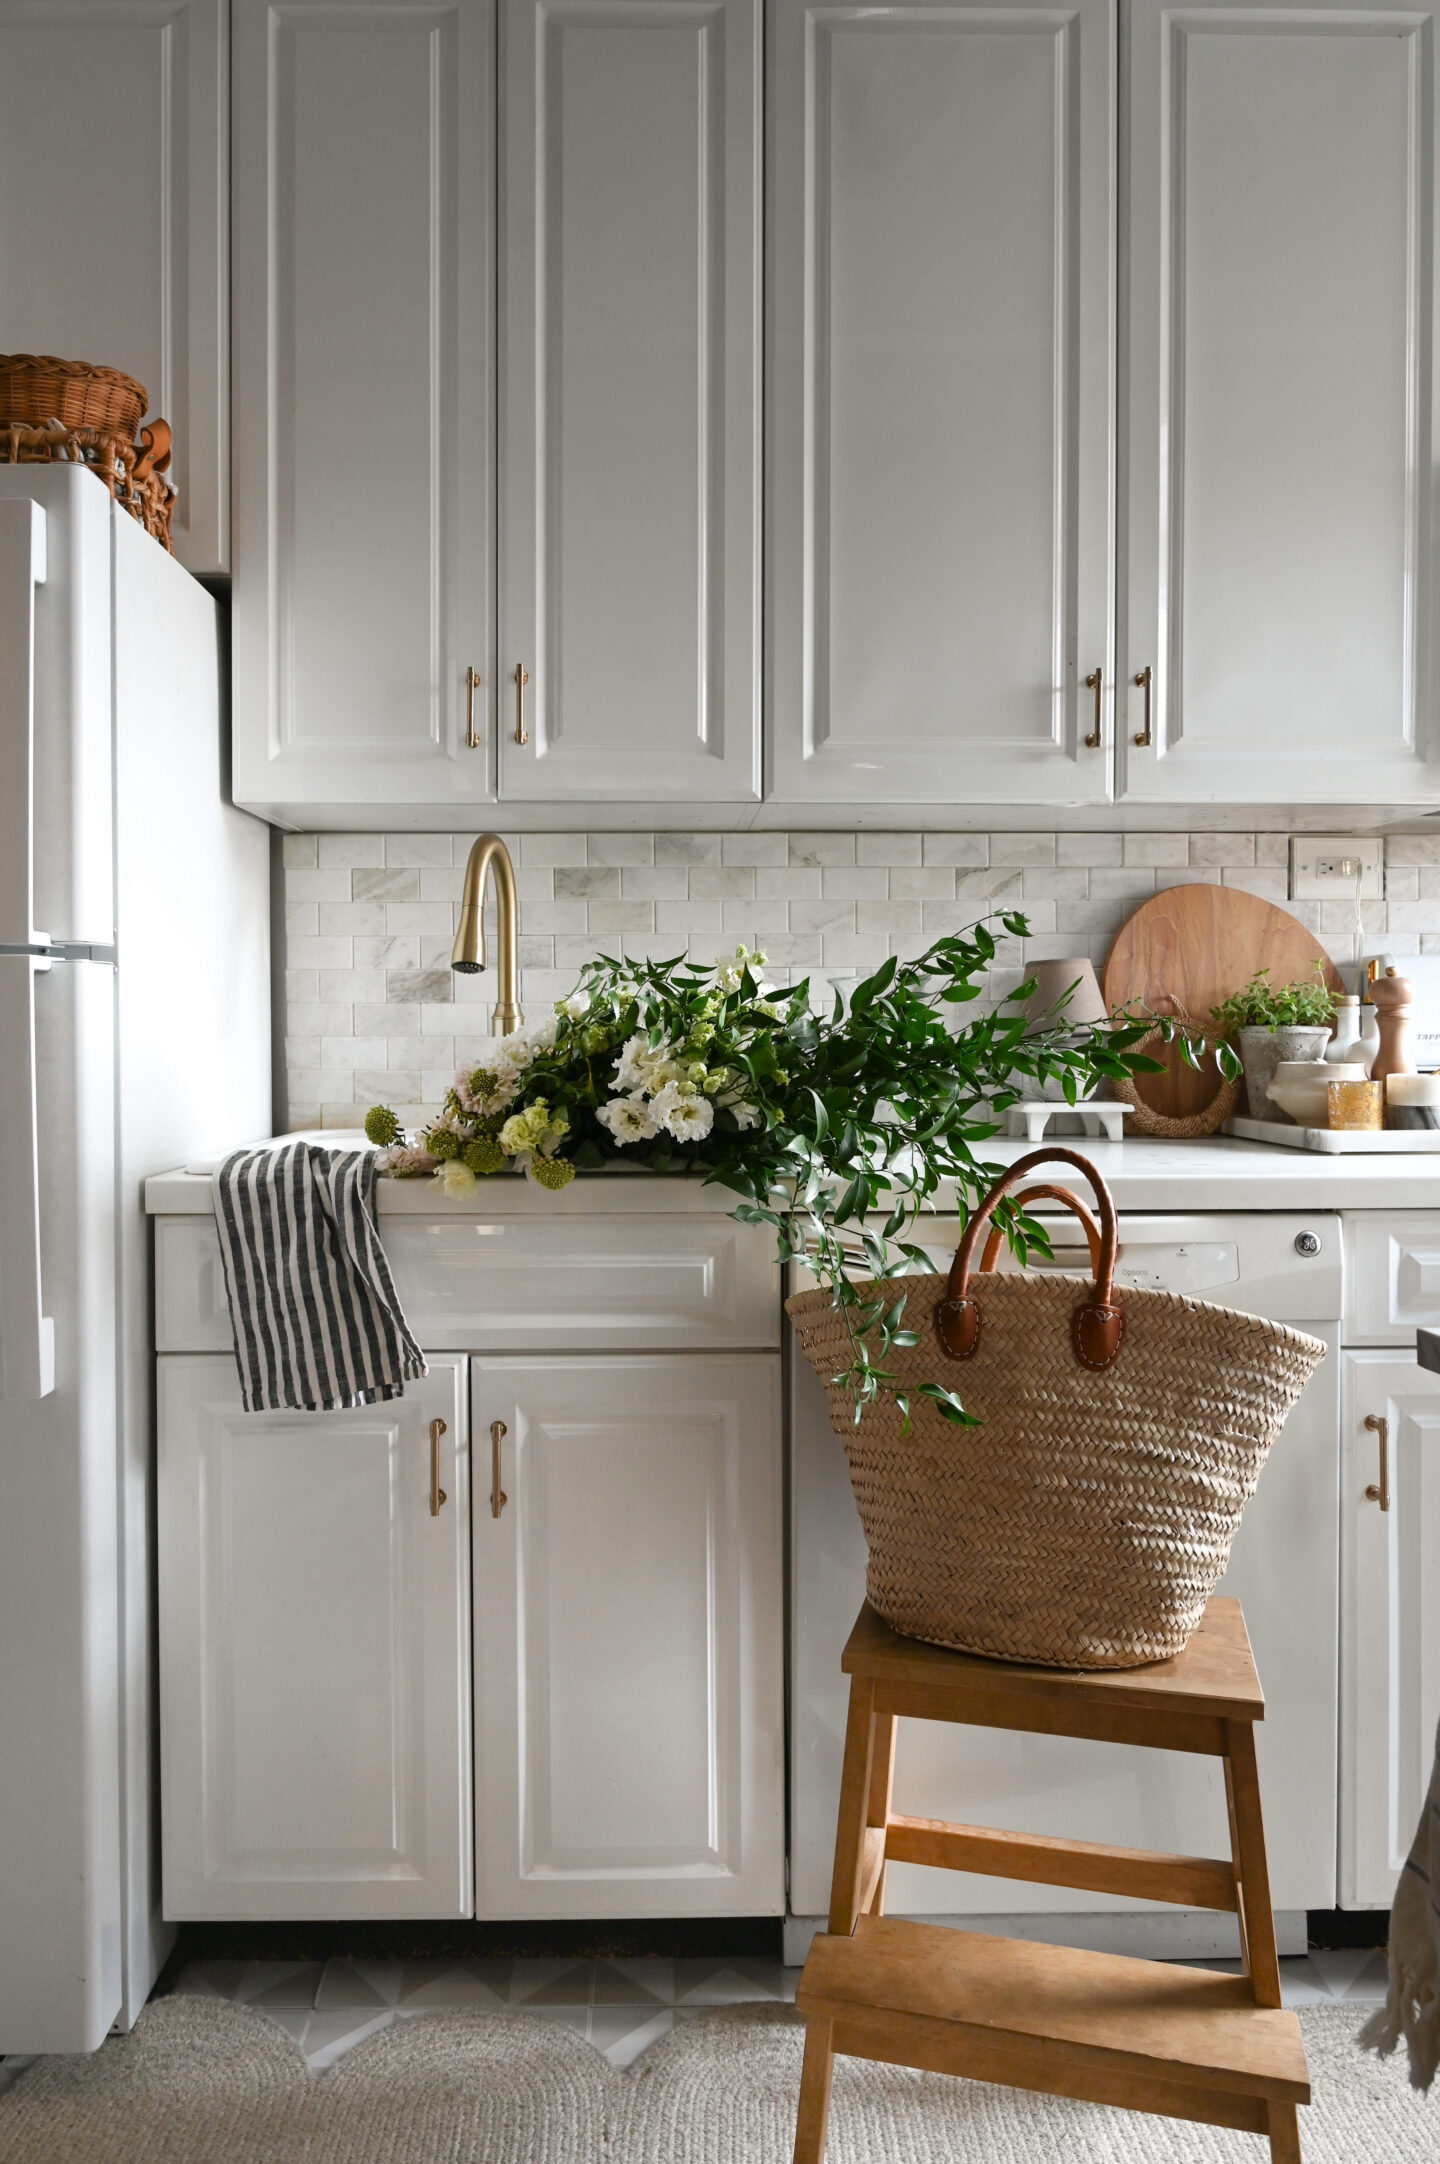
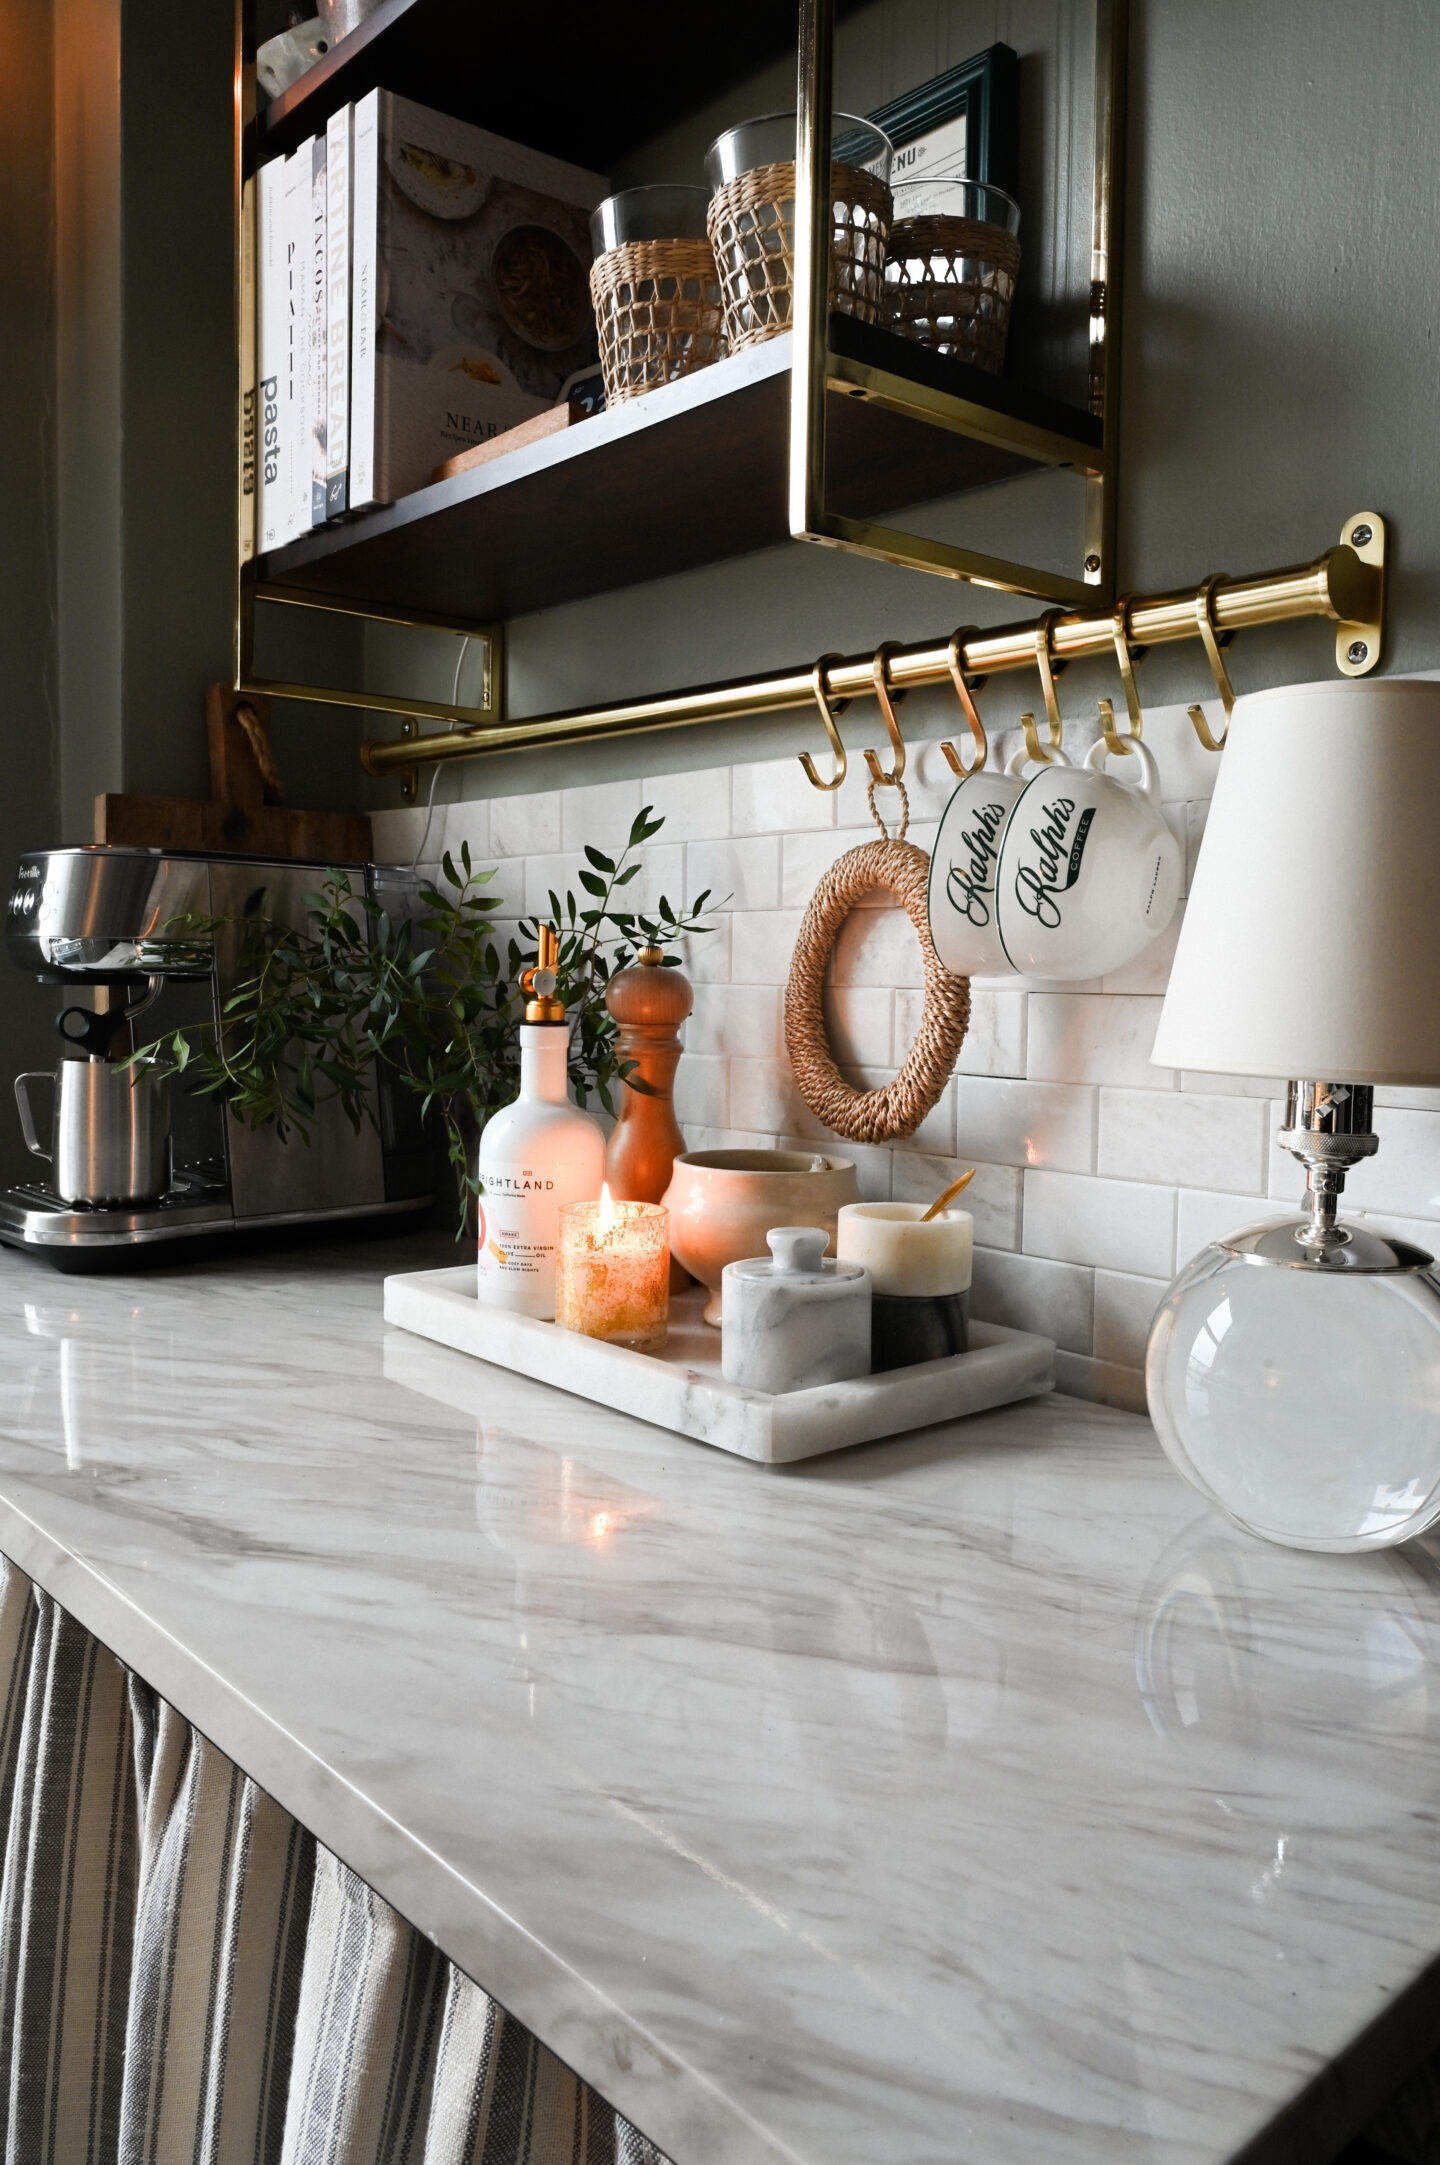
Hands-down, one of the most impactful changes I made to our NYC rental kitchen was adding the peel and stick backsplash. I had seen lots of renter-friendly options, but it wasn’t until I found this real marble version that I was sold on making the change. It comes with a higher price tag than others, but I can honestly say it was worth it. I loved it so much that I recently added it to another wall in our kitchen to make our cart area fell more built in.
It’s not a difficult process by any means, but it is one that requires patience, and accepting that you will mess up a few tiles in the cutting process. Not to worry, this is normal! Here are a few tips that I found helpful when installing the tile in my apartment.
I’ll link to all of my supplies below – I hope this helps you upgrade your own spaces in your home!
shop
/ marble peel and stick tile (mine is ‘daphne white’)
Step 1: This step is optional, but I lined my wall with peel and stick wallpaper to prevent pulling off drywall upon removal. I used this wallpaper and let it sit for almost 48 hours before adding to tile to ensure the adhesive had completely stuck to the wall.
Step 2: Lay out the tile pattern (they come in sheets). The marking on these tiles are all unique, so I like to map mine out ahead of time to get the markings I like best in the most visible spots.
Step 3: Mark your individual tiles with a pencil where they need to be cut (you can use a razor blade/boxcutter to cut off individual tiles from the sheets). Score and cut the tiles that you will need to fill in the gaps. Full disclosure: I messed up a lot of tiles trying to get it right. I used these hand cutters which are made for tile, but because the marble is porous, it makes it difficult to get a straight cut. If you can use a real tile saw, I recommend it. If not, this is what helped me:
– take your time scoring, go over the area a few times
– make sure to score around the edges, not just the top of the tile
– remove the paper backing before clipping
– hold the clippers towards the edge of the tile before squeezing
I’m not particularly strong and was able to use the cutters by myself. It isn’t difficult, just time consuming to get a straight cut!
Step 4: Level, mount, and trim excess backing if you added the peel and stick wallpaper. Leveling is key here — just keep checking as you go! The tile sheets can “stretch” so make sure you level from both the top and the bottom to make sure the sheets are staying even.

Hello! I isually wouldn’t do this, but we are building a hoise and my cabinet paint color is due next week. Your cabinets seem to be sucha nice, soft Off white. May i please know the name/Brand of the pAint? I canmt find it on yoir site. Thmak you so much!
So sorry for all the typos in my prior message, the letters are so small on my phone and I can’t see them well!